
Get Crafty This Halloween: Beginner’s Guide to Pumpkin Carving for Aussie Families
Ready to bring a bit of Halloween magic to your home this October? Pumpkin carving is a spooktacular way for Aussie families to enjoy the season together, whether you’re new to carving or have a few jack-o’-lanterns under your belt. In this beginner’s guide, you’ll learn to pick the perfect pumpkin, gather the essential tools, and carve safely with your loved ones, making sure everyone has a cracking good time. From choosing simple designs to incorporating creative lighting, your carved creations will be the talk of the neighbourhood. So, gather the family, grab a pumpkin, and let’s get crafty this Halloween! For more family-friendly activities and childcare options, visit [https://www.kenmorehillsearlylearning.com.au/].
Choosing the Perfect Pumpkin
Size and Shape
When selecting a pumpkin for carving, it’s important to consider its size and shape. For beginners, medium-sized pumpkins about 20 to 30 centimetres in diameter are ideal. They’re easier to handle and provide enough space for most designs without being too overwhelming. Look for pumpkins with a flat bottom, as this will help keep your creation stable when displayed.
Surface Quality
The surface of your pumpkin plays a big role in how well your carving will turn out. Choose a pumpkin with smooth, unblemished skin and a firm, solid feel. Avoid any with soft spots or dark patches, as these might indicate the pumpkin is starting to rot. A sturdy stem is also a good sign of a healthy pumpkin that will last longer once carved.
Essential Tools for Carving
Basic Carving Tools
To get started with pumpkin carving, you’ll need a few basic tools. A pumpkin carving knife with a serrated edge is essential for cutting through the tough outer skin. A small detail knife will help with intricate work and fine lines. You’ll also need a scoop or large spoon for removing the pulp and seeds from inside the pumpkin. A poking tool, like a skewer or large needle, is useful for transferring stencil patterns onto the pumpkin’s surface.
Safety Equipment
Safety should always come first when carving pumpkins, especially with children involved. Cut-resistant gloves can protect hands from accidental slips. Good lighting is crucial to ensure you can see clearly while working. Set up your carving station on a stable surface, like a non-slip cutting board or towel. It’s also wise to have a first aid kit nearby, just in case of any minor cuts or scrapes.
Step-by-Step Carving Process
Preparing Your Pumpkin
Start by washing your pumpkin thoroughly to remove any dirt or debris. Dry it completely to prevent slipping while carving. Next, cut a square or rectangular opening on the back of the pumpkin, rather than the top. This method keeps the stem intact and provides better structural support. Make sure the opening is large enough for your hand to fit through comfortably.
Cleaning and Carving
Use your scoop or spoon to remove all the pulp, seeds, and stringy bits from inside the pumpkin. Scrape the interior walls until they’re smooth and about 2.5 centimetres thick. This will make carving easier and allow more light to shine through. Once clean, you can transfer your chosen design onto the pumpkin’s surface using a stencil or by drawing freehand. Begin carving with the smallest, most detailed areas first, then work your way outward to larger sections.
Beginner-Friendly Designs
Classic Patterns
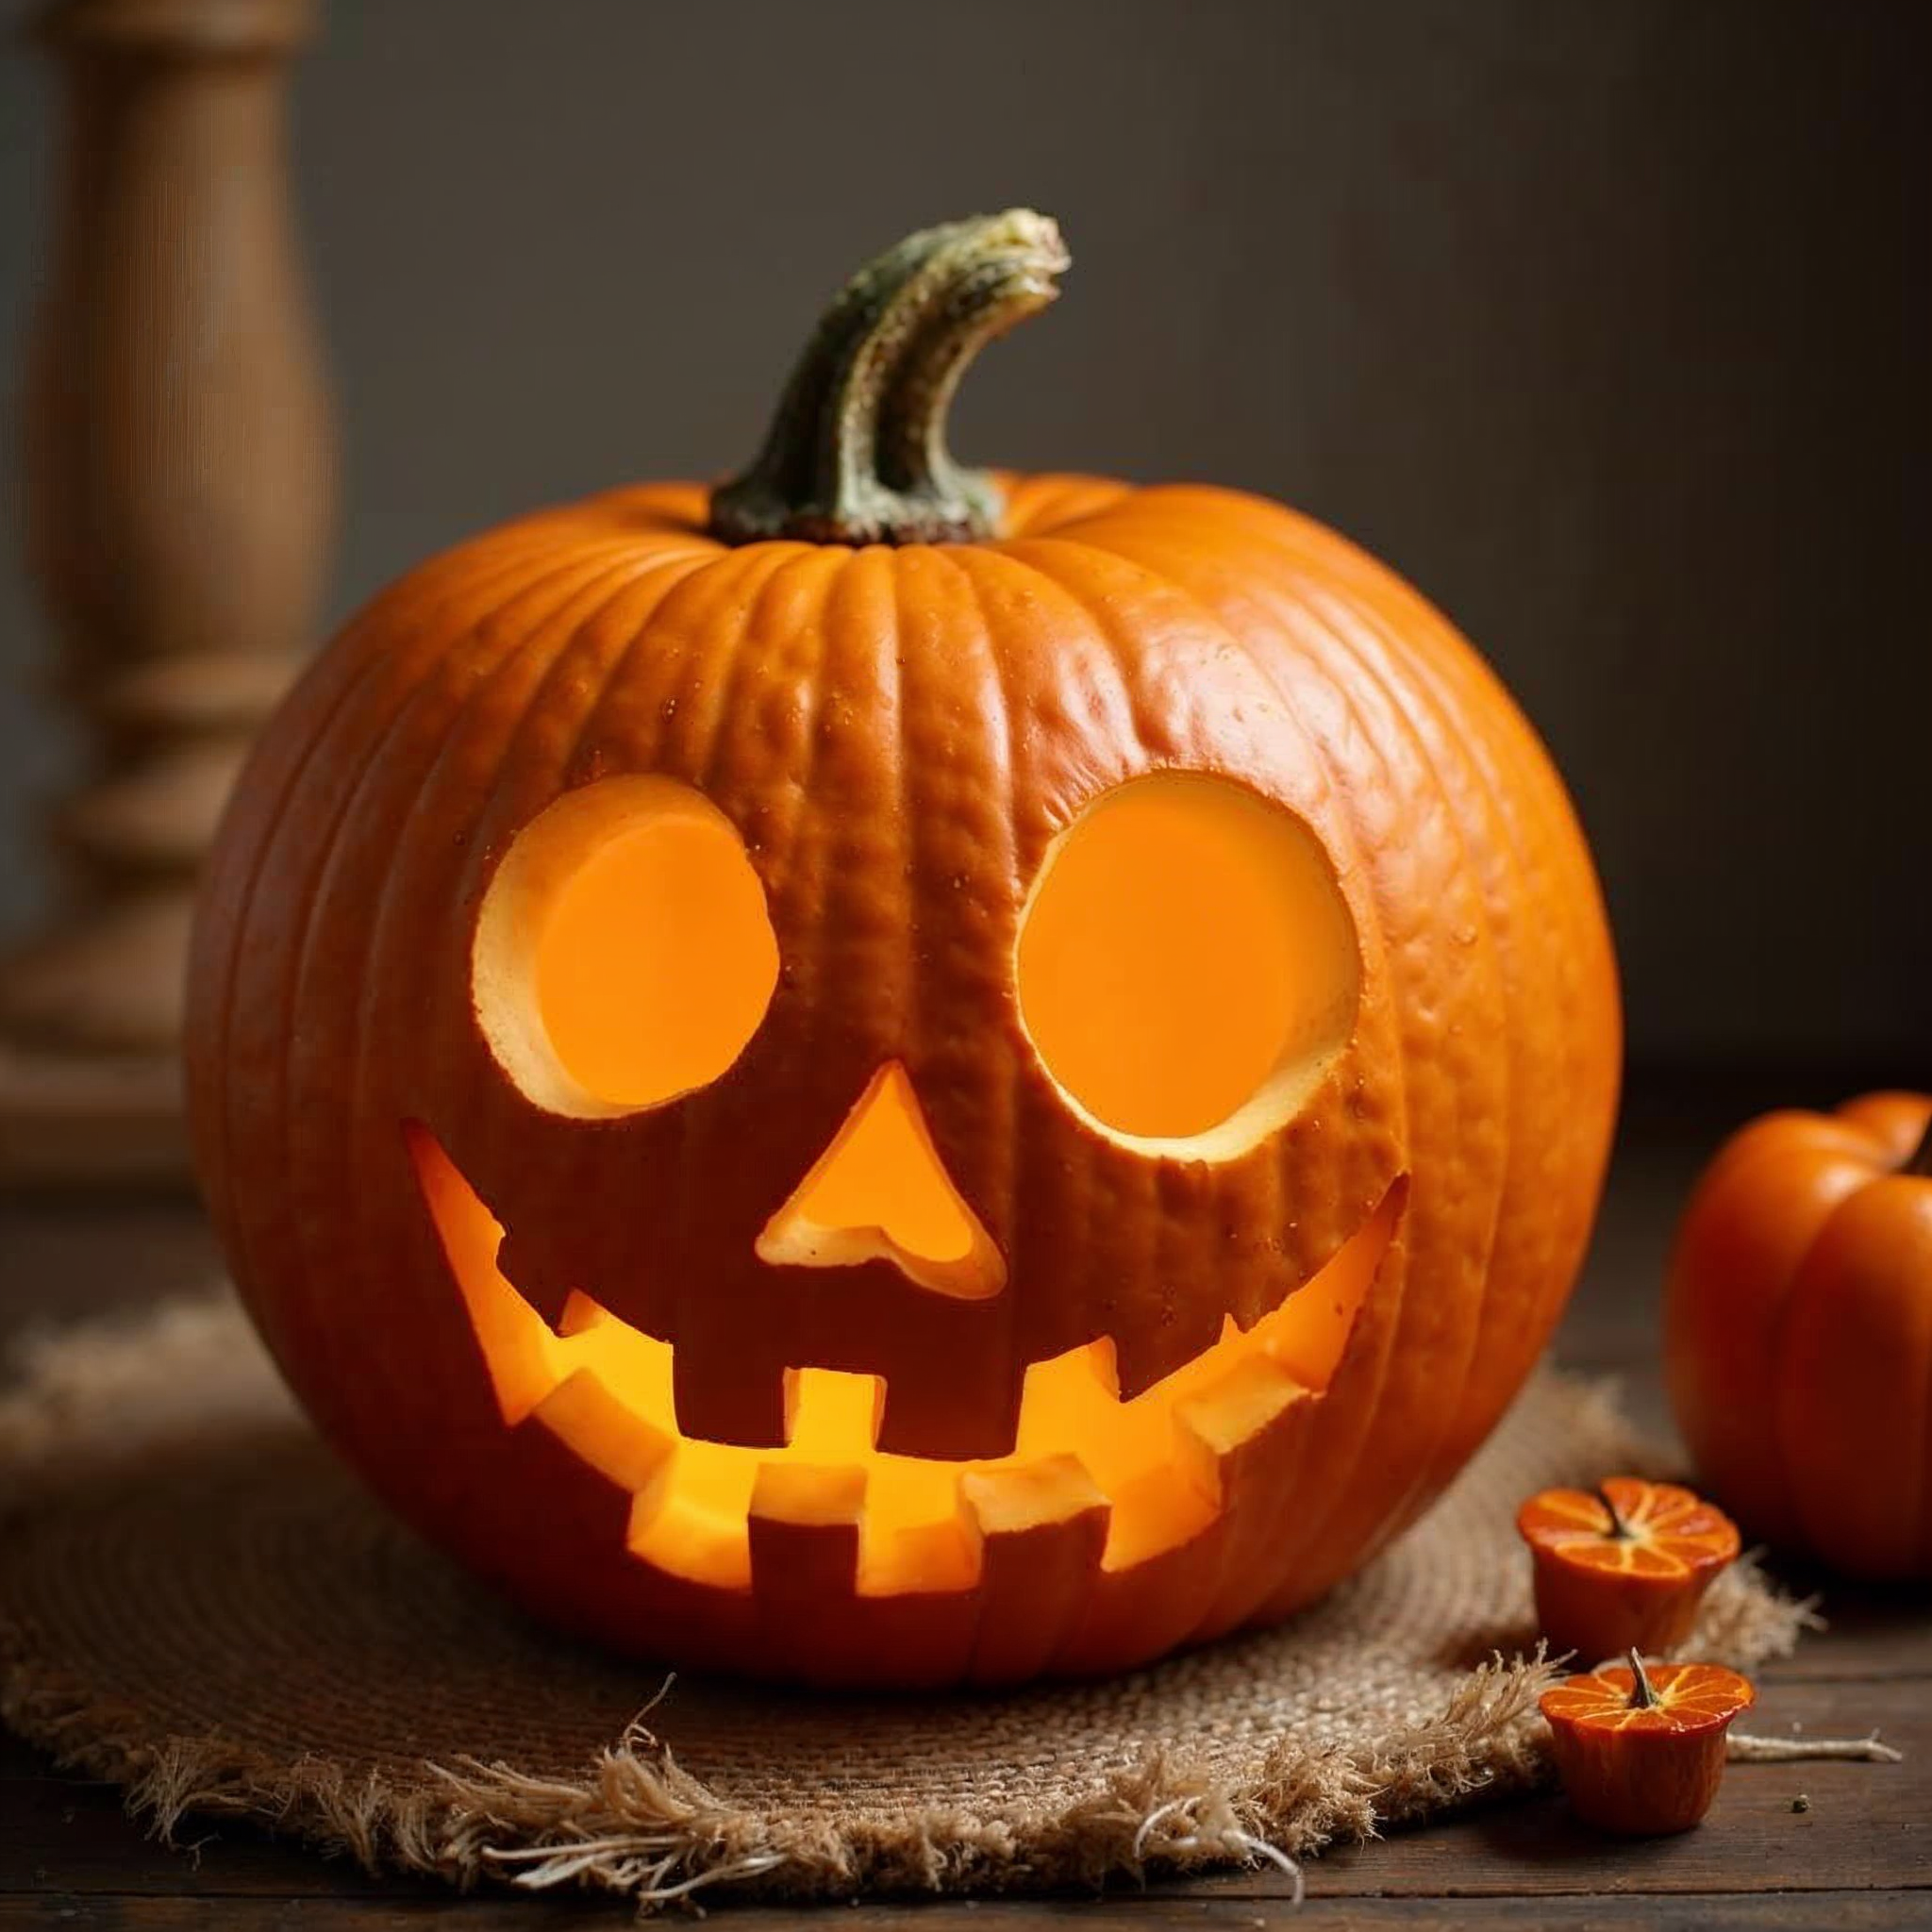
For first-time carvers, simple designs are best. Try a classic jack-o’-lantern face with triangle eyes and a toothy grin. Basic geometric shapes like stars, moons, or spirals are also great options for beginners. These patterns are forgiving and still create an impressive effect when lit up. Remember, it’s okay to keep things simple. Your first time around, you can always try more complex designs as you gain confidence and skill.
Themed Ideas
If you’re feeling a bit more adventurous, consider easy themed designs. Autumn motifs like simple leaf patterns or acorn shapes can be lovely alternatives to traditional Halloween imagery. For those wanting to stick with spooky themes, try uncomplicated outlines of friendly ghosts, bats, or witch hats. These designs can be easily adapted to suit different skill levels and pumpkin sizes.## Getting Started with Pumpkin Carving
Before you dive into the spooky fun of pumpkin carving, it’s important to set yourself up for success. This section covers the essentials of choosing the right pumpkin and gathering the necessary tools.
Choosing the Perfect Pumpkin
Selecting the ideal pumpkin is crucial for a successful carving experience. Look for a pumpkin with a flat bottom to ensure stability while carving and displaying. The skin should be firm and free from blemishes or soft spots.
Consider the size and shape of the pumpkin in relation to your intended design. Larger pumpkins offer more carving space but can be harder to handle, especially for beginners or children.
Check the stem – a green, firmly attached stem indicates freshness. Avoid pumpkins with dried, brittle stems as they may be past their prime.
Remember, an unusual shape or quirky feature can sometimes inspire a unique design, so don’t shy away from slightly unconventional pumpkins if they spark your creativity.
Essential Tools for Success
Equipping yourself with the right tools can make pumpkin carving safer and more enjoyable. Here’s a list of must-have items:
-
Pumpkin carving kit (includes specialised saws and scoops)
-
Sharp kitchen knife for initial cuts
-
Large spoon or ice cream scoop for cleaning out the pumpkin
-
Marker or transfer paper for sketching designs
-
Tea lights or battery-operated candles for illumination
Consider investing in a pumpkin carving kit designed specifically for the task. These often include serrated saws that are safer and more effective than regular kitchen knives.
For intricate designs, small detail knives or linoleum cutters can be helpful. Always prioritise safety when choosing and using carving tools.
Safety First: Carving Tips for Families
Pumpkin
Carving is a fun family activity, but it’s essential to prioritise safety. This section outlines key guidelines and special considerations for involving children in the process.
Key Safety Guidelines
When carving pumpkins, safety should always be your top priority. Start by ensuring your workspace is well-lit and stable. Use a sturdy table or countertop, and consider laying down newspaper or a plastic tablecloth for easy cleanup.
Always cut away from yourself and keep your free hand away from the blade. If you need to stabilise the pumpkin, do so from the top, well away from where you’re cutting.
Adult supervision is crucial. Even older children and teens should be monitored when using sharp tools. Consider using pumpkin carving kits with safety tools designed to reduce the risk of injury.
Keep a first aid kit nearby, just in case. Clean all tools and your hands thoroughly before starting to reduce the risk of infection if a cut does occur.
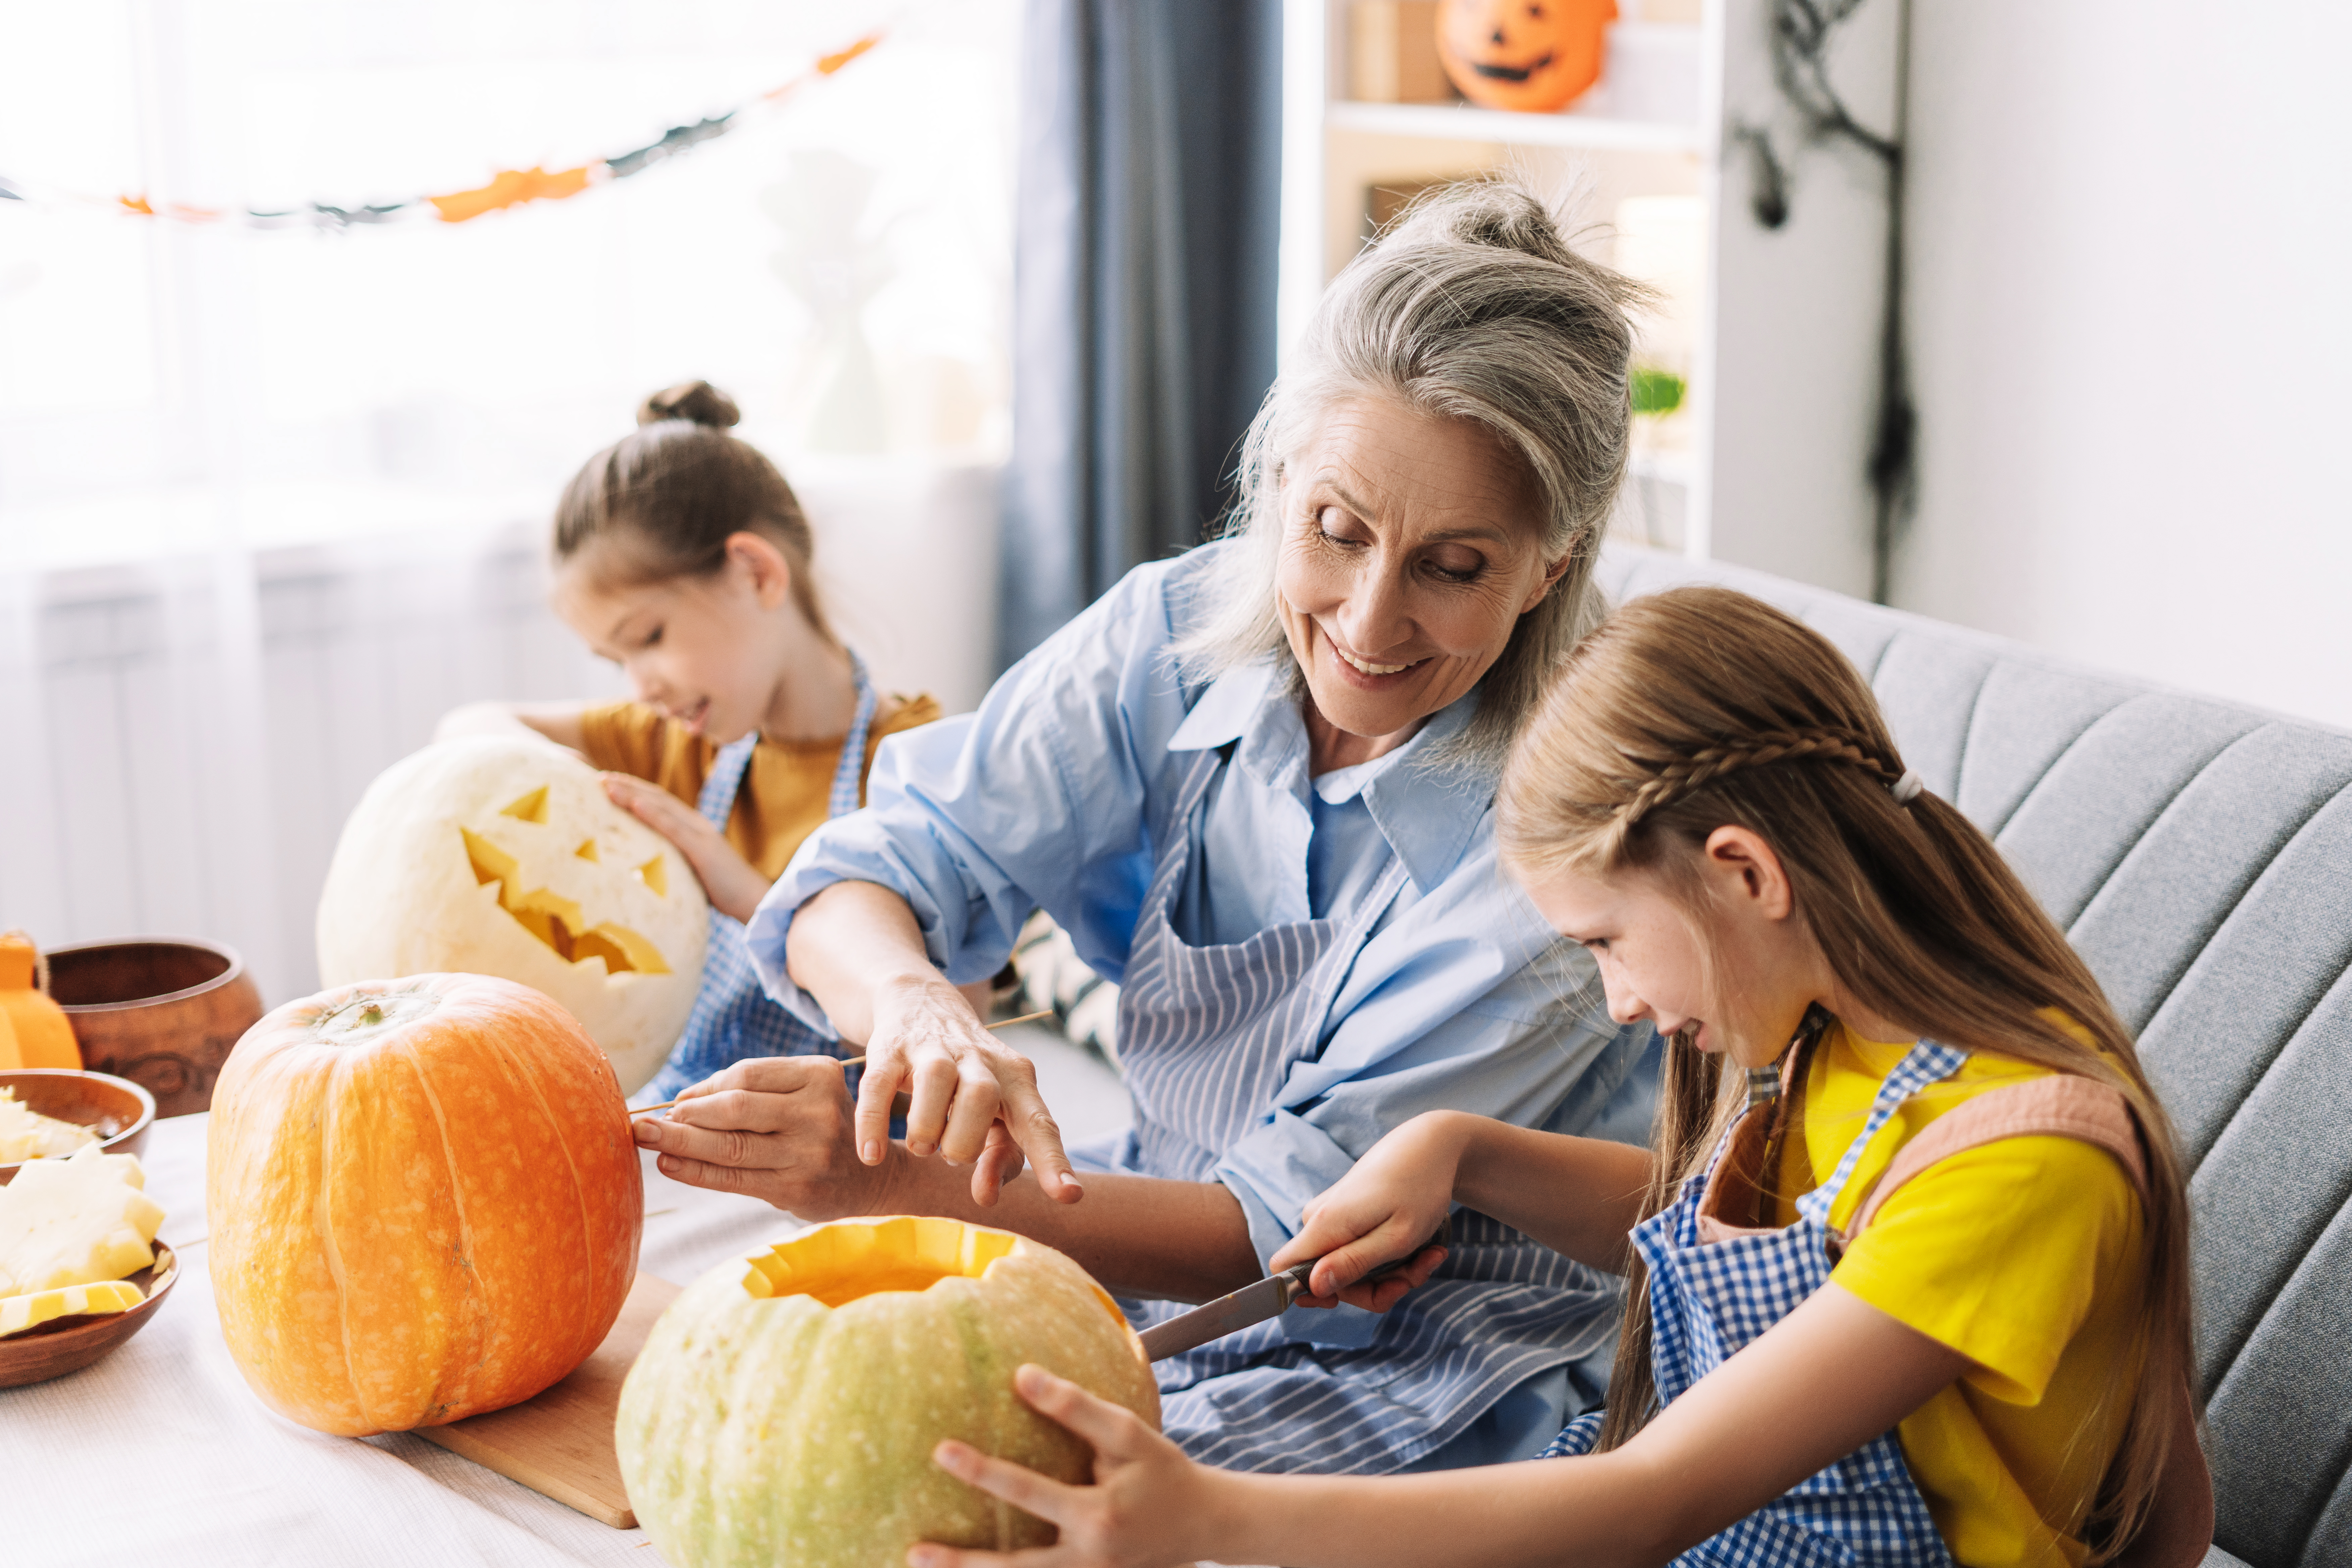
Child Safety Considerations
Involving children in pumpkin carving can be a wonderful family activity, but it requires careful planning and supervision. For younger children, consider alternative activities that don’t involve sharp tools.
Let kids draw the design on the pumpkin with markers. They can also help with scooping out the seeds and pulp using plastic spoons or their hands (with adult assistance).
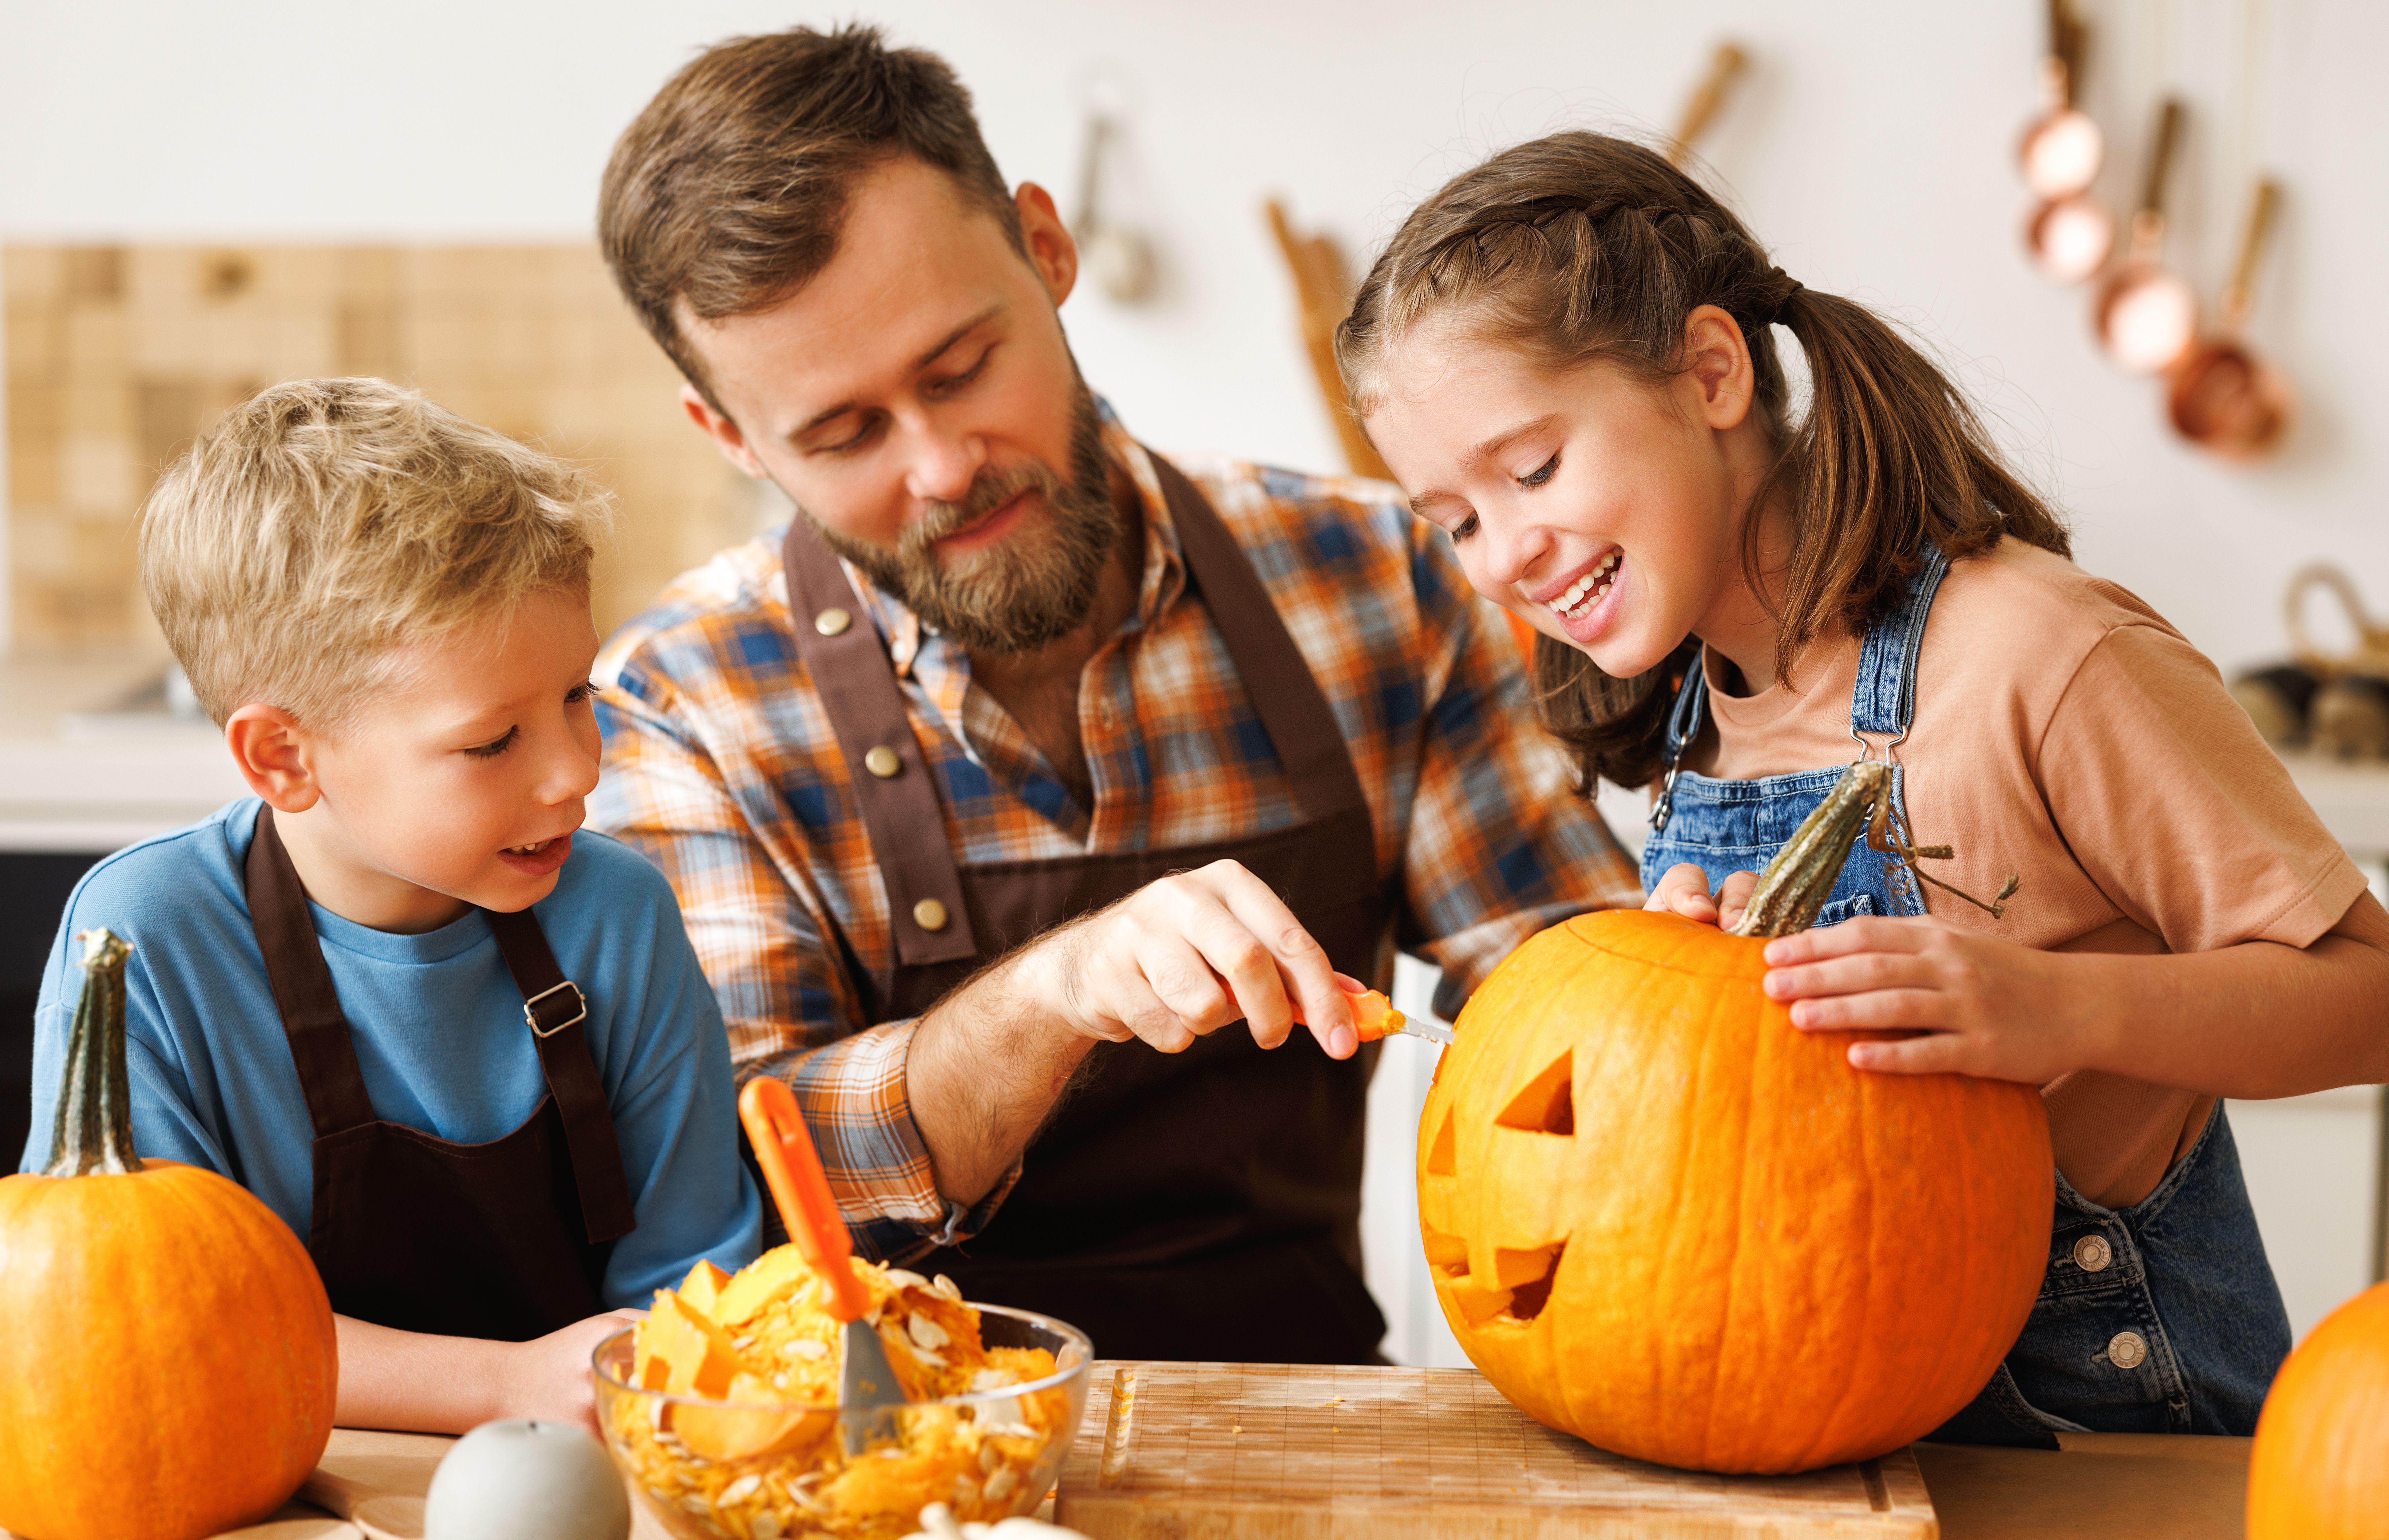
For older children who want to participate in carving, start with simple designs and use tools specifically designed for child safety. Some carving kits include plastic tools that can cut through pumpkin flesh but are less likely to cause injury.
Always demonstrate proper technique before allowing children to try carving. Emphasise the importance of patience and careful movements.
Consider having a designated adult to assist each child one-on-one during the carving process. This allows for closer supervision and immediate help if needed.
Step-by-Step Carving Process
Now that you’re prepared and safety-conscious, it’s time to start carving! This section breaks down the process into manageable steps, from setting up your workspace to preparing the pumpkin for carving.
Preparing Your Workspace
A well-organised workspace is key to a smooth and enjoyable pumpkin carving experience. Start by choosing a location with good lighting and a comfortable working height.
Cover your work surface with newspaper or a disposable tablecloth for easy cleanup. Gather all your tools and materials before you begin, including:
-
Carving tools
-
Marker or pencil
-
Spoon or scoop
-
Bowl for pumpkin innards
-
Paper towels or wet wipes
-
Your chosen design or stencil
Having everything at hand will help the process flow smoothly and reduce the risk of accidents from reaching for items mid-carve.
Consider setting up a separate area for young children to work on safer pumpkin decorating activities if they’re not ready for carving.
Special Event Announcement

Join Us for a Spooktacular Pumpkin Carving Experience! November 1
We’re excited to invite you to our upcoming pumpkin carving event! Whether you’re a beginner looking to try your first jack-o’-lantern or an experienced carver wanting to share your skills, this is the perfect opportunity to celebrate the Halloween season with friends and family.
Event Highlights:
-
Professional carving tools and stencils provided
-
Expert guidance for beginners
-
Family-friendly atmosphere
-
All skill levels welcome
-
Take home your carved creation
-
Refreshments and seasonal treats
-
Photo opportunities with your finished pumpkins
This event promises to be a memorable experience for carvers of all ages. Come prepared to get creative, learn new techniques, and enjoy the festive Halloween spirit with our community.
For more details about the event, including date, time, location, and registration information, please visit: https://www.facebook.com/events/764787442972068/
Don’t miss this chance to create something special this Halloween season. We look forward to seeing your creativity come to life!
Recent Comments